
Tips for Maximizing the Scent of the Candles
Candles aren't just wax and flame. They're the creators of ambiance, the keepers of memories, and the stylists of our homes. And the best part? The joy of owning a beautiful candle (or five, we won't judge) is only the beginning. The real magic lies in knowing how to unlock its full potential, enhancing your space with its fragrance and charm.
Whether you're lighting up a sculpted candle as a centerpiece, a jar candle in the bedroom, or a cluster of tea lights for that moody dinner vibe, there are ways to stretch that scent and make it feel like it's wrapping the whole room in luxury. And today? We're spilling all the tricks.
So grab your lighter, your favorite matchbox, or that trendy USB rechargeable wand, and let's talk about how to make your candles truly great!
1. Keep Burn Time Under Control
We know the temptation: you light a candle at brunch, it's still glowing by dinner, and suddenly you're three lattes in with wax that's had enough. But letting a candle burn for too long can actually weaken its fragrance.
Here's why: after about three hours, the wick starts to "mushroom" (that little puffball on top) and the wax overheats, which dulls the fragrance throw. Instead, think of your candle like a delicate perfume—it doesn't need to shout to be heard. Two to three hours is usually the sweet spot for filling a room with scent without overworking the wax.
2. Store Candles Like You Would Perfume
Candles hate extremes. Storing them in direct sunlight or near heat sources like radiators or the kitchen stovetop can cause the wax and oils to break down, and suddenly your candle smells more like nothing than "La Belle Rose."
Keep your candles in a cool, dark place, and if they're sculpted beauties, keep them away from direct sunlight so they don't lose their shape or color. Pro tip: If you're a serious candle collector, a pretty cabinet works wonders for décor, display, and preservation.
3. Trim the Wick Before Every Burn
This one may seem small, but it makes the most significant difference. Always trim your wick to about ¼ inch before lighting up. Why? Because a long, sooty wick will create too much smoke and mess with the fragrance.
Think of it like giving your candle a quick haircut before showtime. A clean, trimmed wick equals a clean burn and a more pungent scent. Wick trimmers make this feel extra luxe, but scissors or nail clippers do the job too.
4. Keep the Wax Pool Clean
No one wants candle soup filled with match debris, wick clippings, or cat hair (it happens). A dirty wax pool not only looks messy but also interferes with how evenly the candle burns.
If you spot any extras floating around, fish them out once the wax cools down a bit. The cleaner the surface, the smoother the burn, and the better the fragrance.
5. Avoid Breezy Spots
It's tempting to place candles by a window or near a fan because it looks Insta-worthy, but breezes will mess with your flame. A flickering, dancing flame burns unevenly, causing tunneling and weaker scent throw.
Keep candles away from drafts, fans, and open windows if you want their fragrance to stay consistent. Remember, you want a calm, steady flame—not a fire show.
6. Clean the Jars (and Sculpted Surfaces)
Container candles can develop a cloudy film on the glass due to the buildup of soot. A quick wipe with a damp cloth after the candle cools makes them sparkle again.
For sculpted candles, especially ones you're using as décor while they burn, a gentle dusting before lighting keeps them looking photo-ready. Presentation matters, and so does keeping the wax pure.
7. Handle Soot Like a Pro
Even the best candles sometimes leave a little soot behind. Don't panic—wait until the candle is cool and wipe the jar or surface with a damp cloth. This keeps the candle looking fresh and prevents soot from dulling the fragrance.
If soot is a constant guest, your wick might be too long. (Back to step three!)
8. Close Doors and Windows Before Lighting
Here's an underrated trick: if you really want the scent to bloom, close your doors and windows at least 30 minutes before you light up. This gives the fragrance a chance to concentrate and settle in the space instead of escaping into the great outdoors.
It's the difference between catching a whisper of fragrance and stepping into a full-on candle experience.
9. Let It Cool Before Relighting
Candles need rest just like we do. If you blow one out, wait until the wax fully solidifies before lighting it again. Relighting too soon messes with the fragrance throw and can shorten the candle's overall life.
Patience pays off—your nose will thank you later.
10. Fix Tunneling Before It Becomes Permanent
Tunneling is every candle lover's nightmare—that hollow ring where the center burns down, leaving wax clinging to the sides like an uninvited guest. The good news? It's fixable.
If tunneling starts, use the "foil trick": wrap aluminum foil around the top of the candle, leaving a hole in the middle so the flame can breathe. This allows the trapped heat to melt the wax edges back down, preventing tunneling and ensuring an even burn. It's like a spa day for your candle.
11. Know Your Candle Type
Different candles play by slightly different rules.
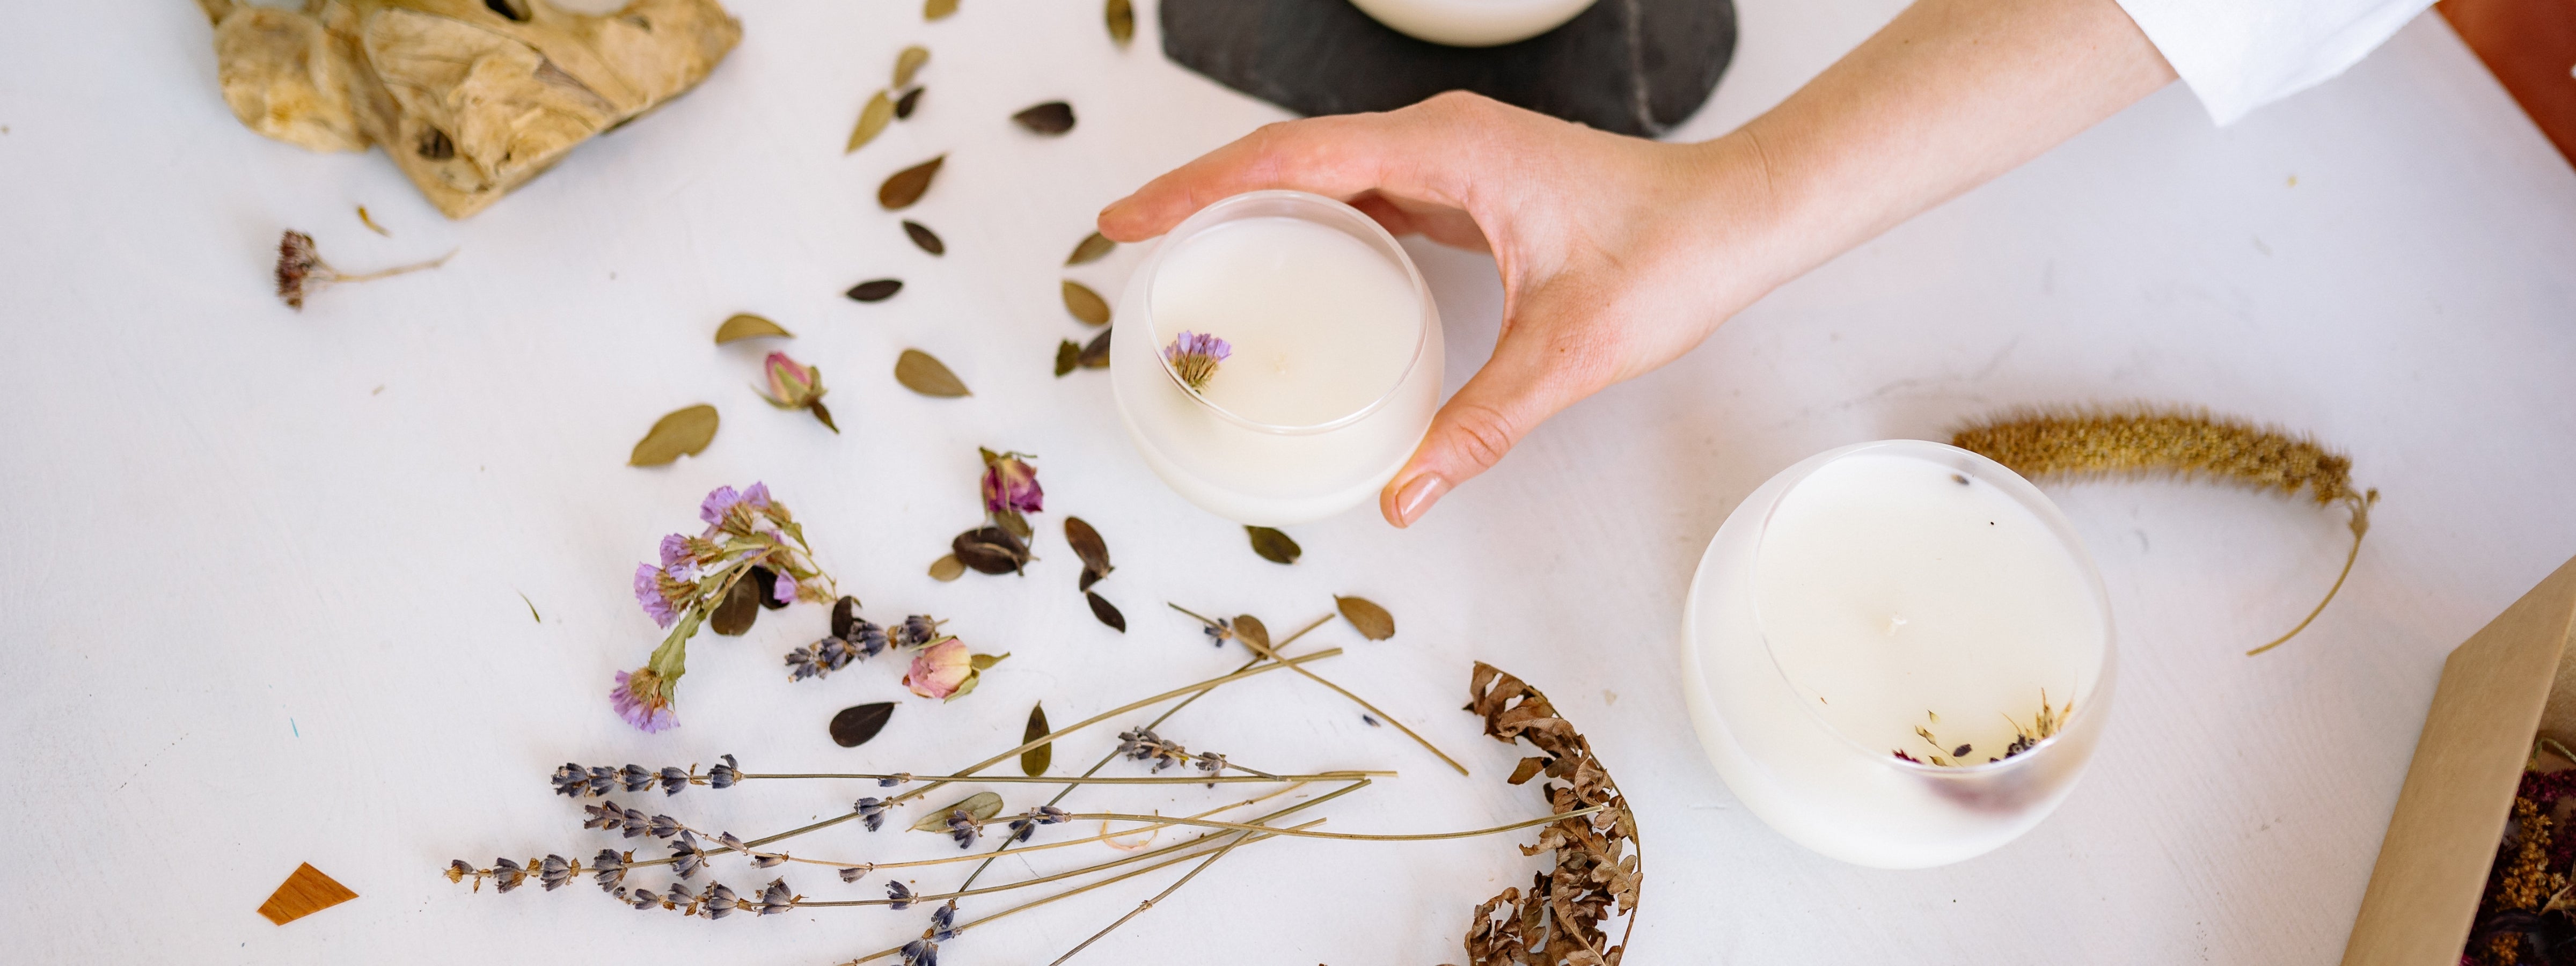
- Container Candles: Best for intense, long-lasting fragrance. Just make sure they pool all the way across on the first burn to avoid tunneling.
- Pillar Candles: These free-standing beauties need a stable holder to catch the wax drips and should be burned on a heat-safe plate. Trim the wick more often to keep its large flames in check.
- Tea Lights: Small but mighty. They're great for adding scent in clusters, but don't expect them to fill a large room alone. Think accent fragrance, not main character.
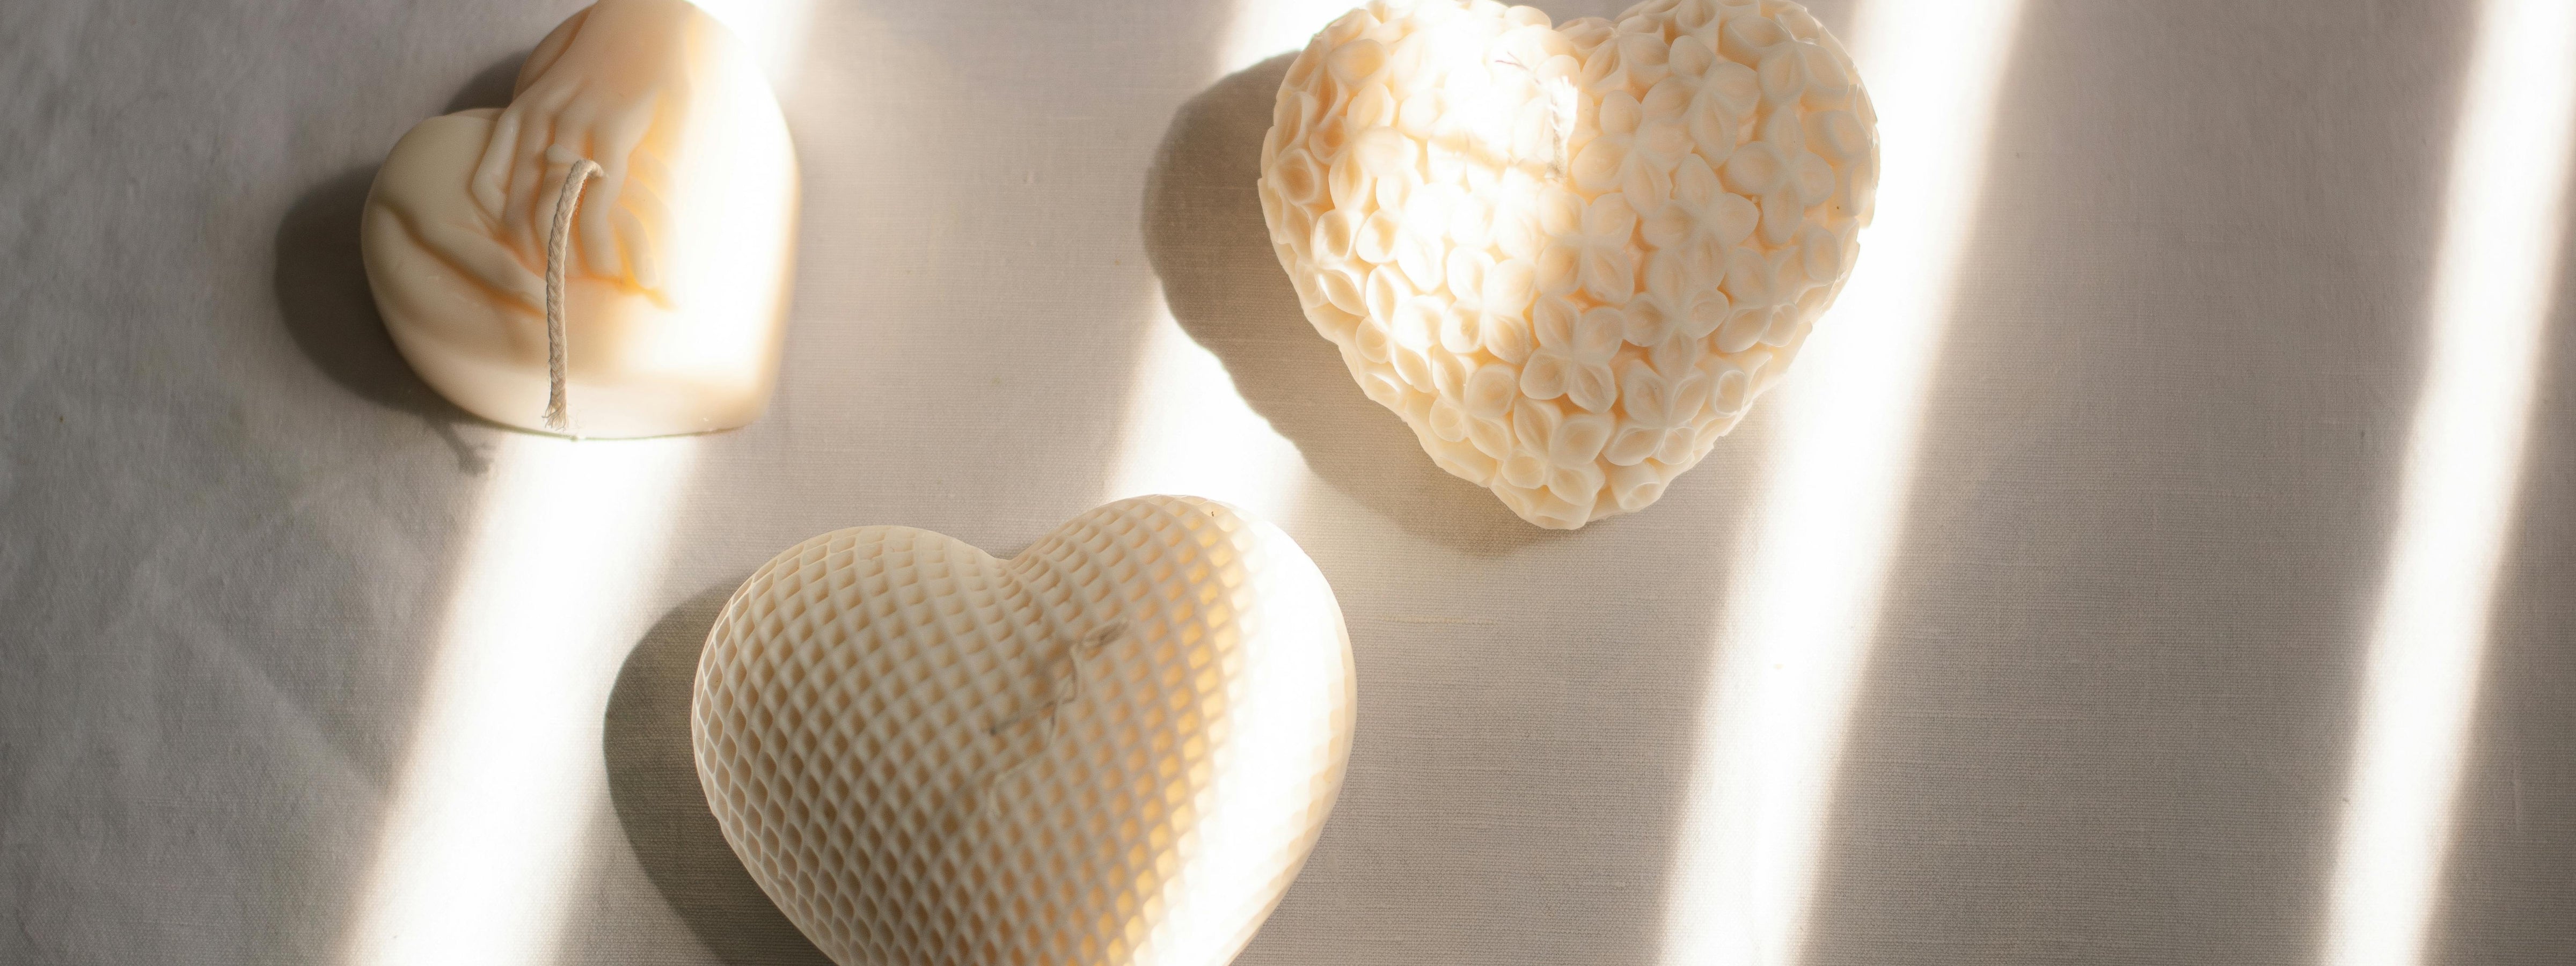
- Sculpted Candles: These are the statement-makers. They're more about décor than strong fragrance because they don't have a container to hold the melted wax, which limits how much scent they release. But they still bring a subtle aroma while doubling as stunning art pieces for your table, shelf, or centerpiece.
Knowing how each type works lets you enjoy them for what they do best—whether that's filling a room with fragrance or stealing the spotlight as décor.
12. The First Burn Set the Tone
The first burn of a candle is like the opening act of a concert-it sets the tone for the entire performance. Understanding the significance of this initial burn will ensure you get the most out of your candle from the start. This tip deserves its own spotlight. The very first time you light a candle, let it burn until the wax melts evenly across the top layer. That "memory burn" teaches the wax how to melt for the rest of its life. Skip this step, and you might be stuck with tunneling forever.
So yes, first impressions matter—even for candles.
13. Double Up for Bigger Spaces
Sometimes one candle isn't enough. If you're trying to scent a large living room or open-concept space, light two candles in complementary scents on opposite ends of the room. This creates balance and ensures the fragrance doesn't fade into the background.
Think of it like surround sound, but for your nose.
14. Rotate Your Scents
Your nose can get used to a fragrance if you burn the same one every day. To keep things fresh, rotate between a few favorites. One day it's Sparkling Lavender, the next it's Cinnamon Mist. Variety keeps your senses engaged and makes each scent feel more powerful.
15. Style Meets Scent
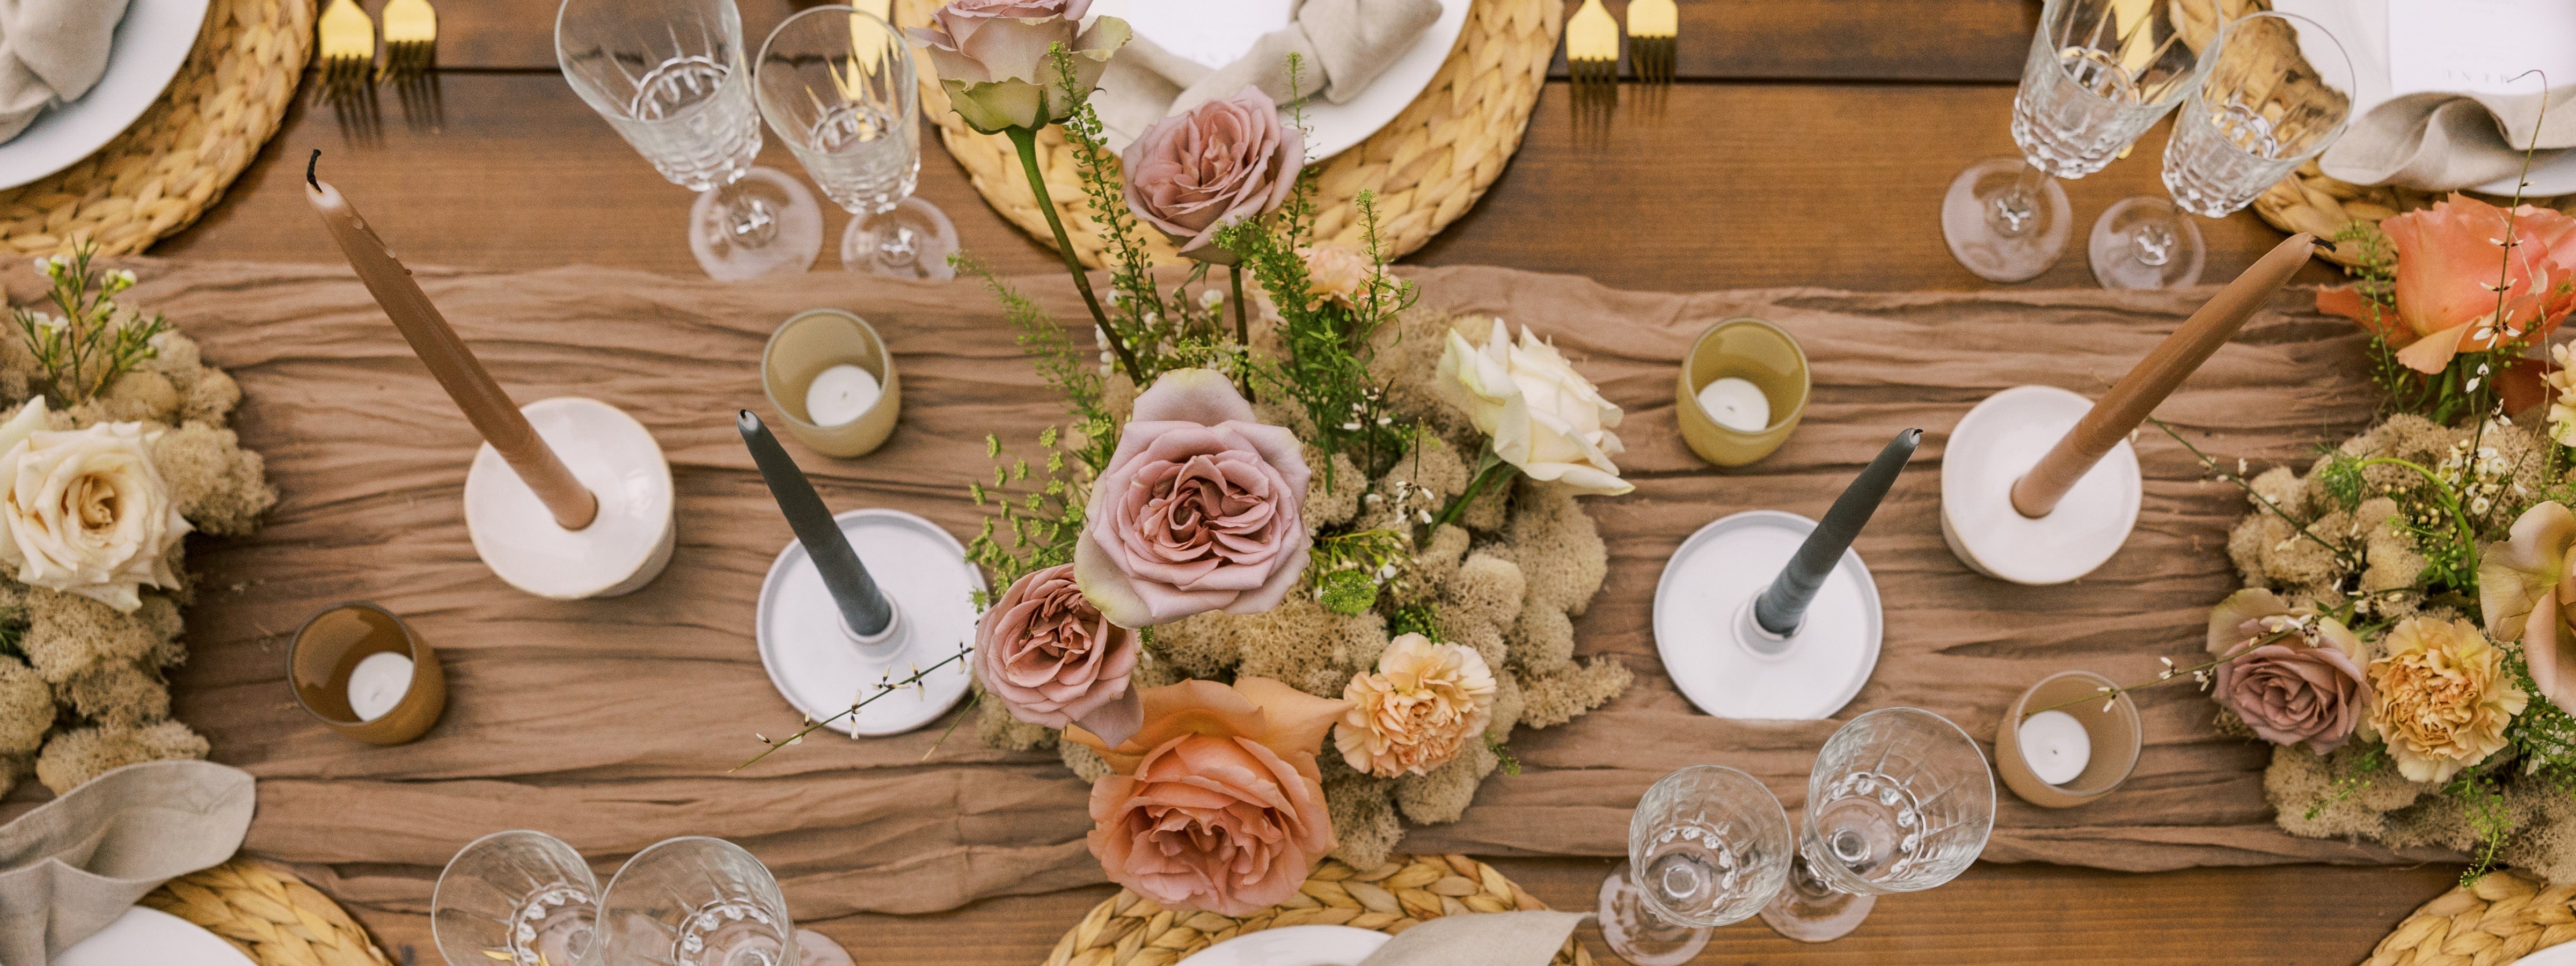
Don't forget: candles are as much about ambiance as aroma. Placing sculpted candles on your coffee table or layering tea lights down a dinner table not only fills the air with fragrance but also sets the mood visually.
The more intentional you are with placement, the more immersive the scent feels.
Final Glow
Candles are more than décor—they're experiences in wax form. With just a few tweaks and some wick discipline, you can stretch their life, amplify their fragrance, and create a home that smells like pure luxury.
So the next time you strike a match, remember: trim, place, time, and enjoy. Your candles deserve to shine—and so do you.

Written by Hilda Rodriguez
Hilda Rodriguez is the founder and maker behind Dahil Bar, a Miami-based candle studio inspired by fragrance, art, and thoughtful design. With her family at the heart of her journey, she creates handmade candles that bring beauty, warmth, and meaningful moments into the home.


